

Ductwork Design, Sizing & Installation Best Practices
.webp)
Beyond the Furnace: A Homeowner’s Guide to High-Performance Ductwork
That one room that’s always freezing. The stuffy upstairs bedroom. The energy bill that seems to climb higher every month. You’ve likely blamed your furnace or AC unit, but the real culprit is often hiding in plain sight—within your walls, attic, and crawlspace.
Your ductwork is the circulatory system of your home's comfort, and if it's poorly designed or installed, your HVAC system can't do its job effectively. In fact, according to ENERGY STAR®, a typical house loses 20 to 30 percent of the air that moves through its duct system to leaks, holes, and bad connections. You’re paying to heat and cool your attic instead of your living room.
Making an informed decision about your ductwork feels overwhelming. You're caught between technical jargon and the fear of being sold services you don't need. This guide cuts through the noise. It provides the framework you need to diagnose your system, understand what "good" looks like, and confidently choose the right path forward for a comfortable, efficient home.
The Diagnosis: Is Your Ductwork Quietly Costing You Money?
If you're experiencing any of the issues below, your ducts are likely a major contributor. See how many of these sound familiar:
- Hot & Cold Spots: Rooms are at noticeably different temperatures, no matter how you adjust the thermostat.
- High Energy Bills: Your heating and cooling costs are disproportionately high for your home’s size.
- Excessive Dust: You’re constantly dusting, which can indicate leaky return ducts pulling dirty air from attics or crawlspaces.
- Noisy Operation: You hear whistling, rattling, or booming sounds when your HVAC system kicks on.
- Weak Airflow: Air trickles weakly from some vents, even when the system is running at full blast.
These aren't just minor annoyances; they are symptoms of an inefficient system that’s working harder than it needs to, shortening its lifespan and wasting your money.
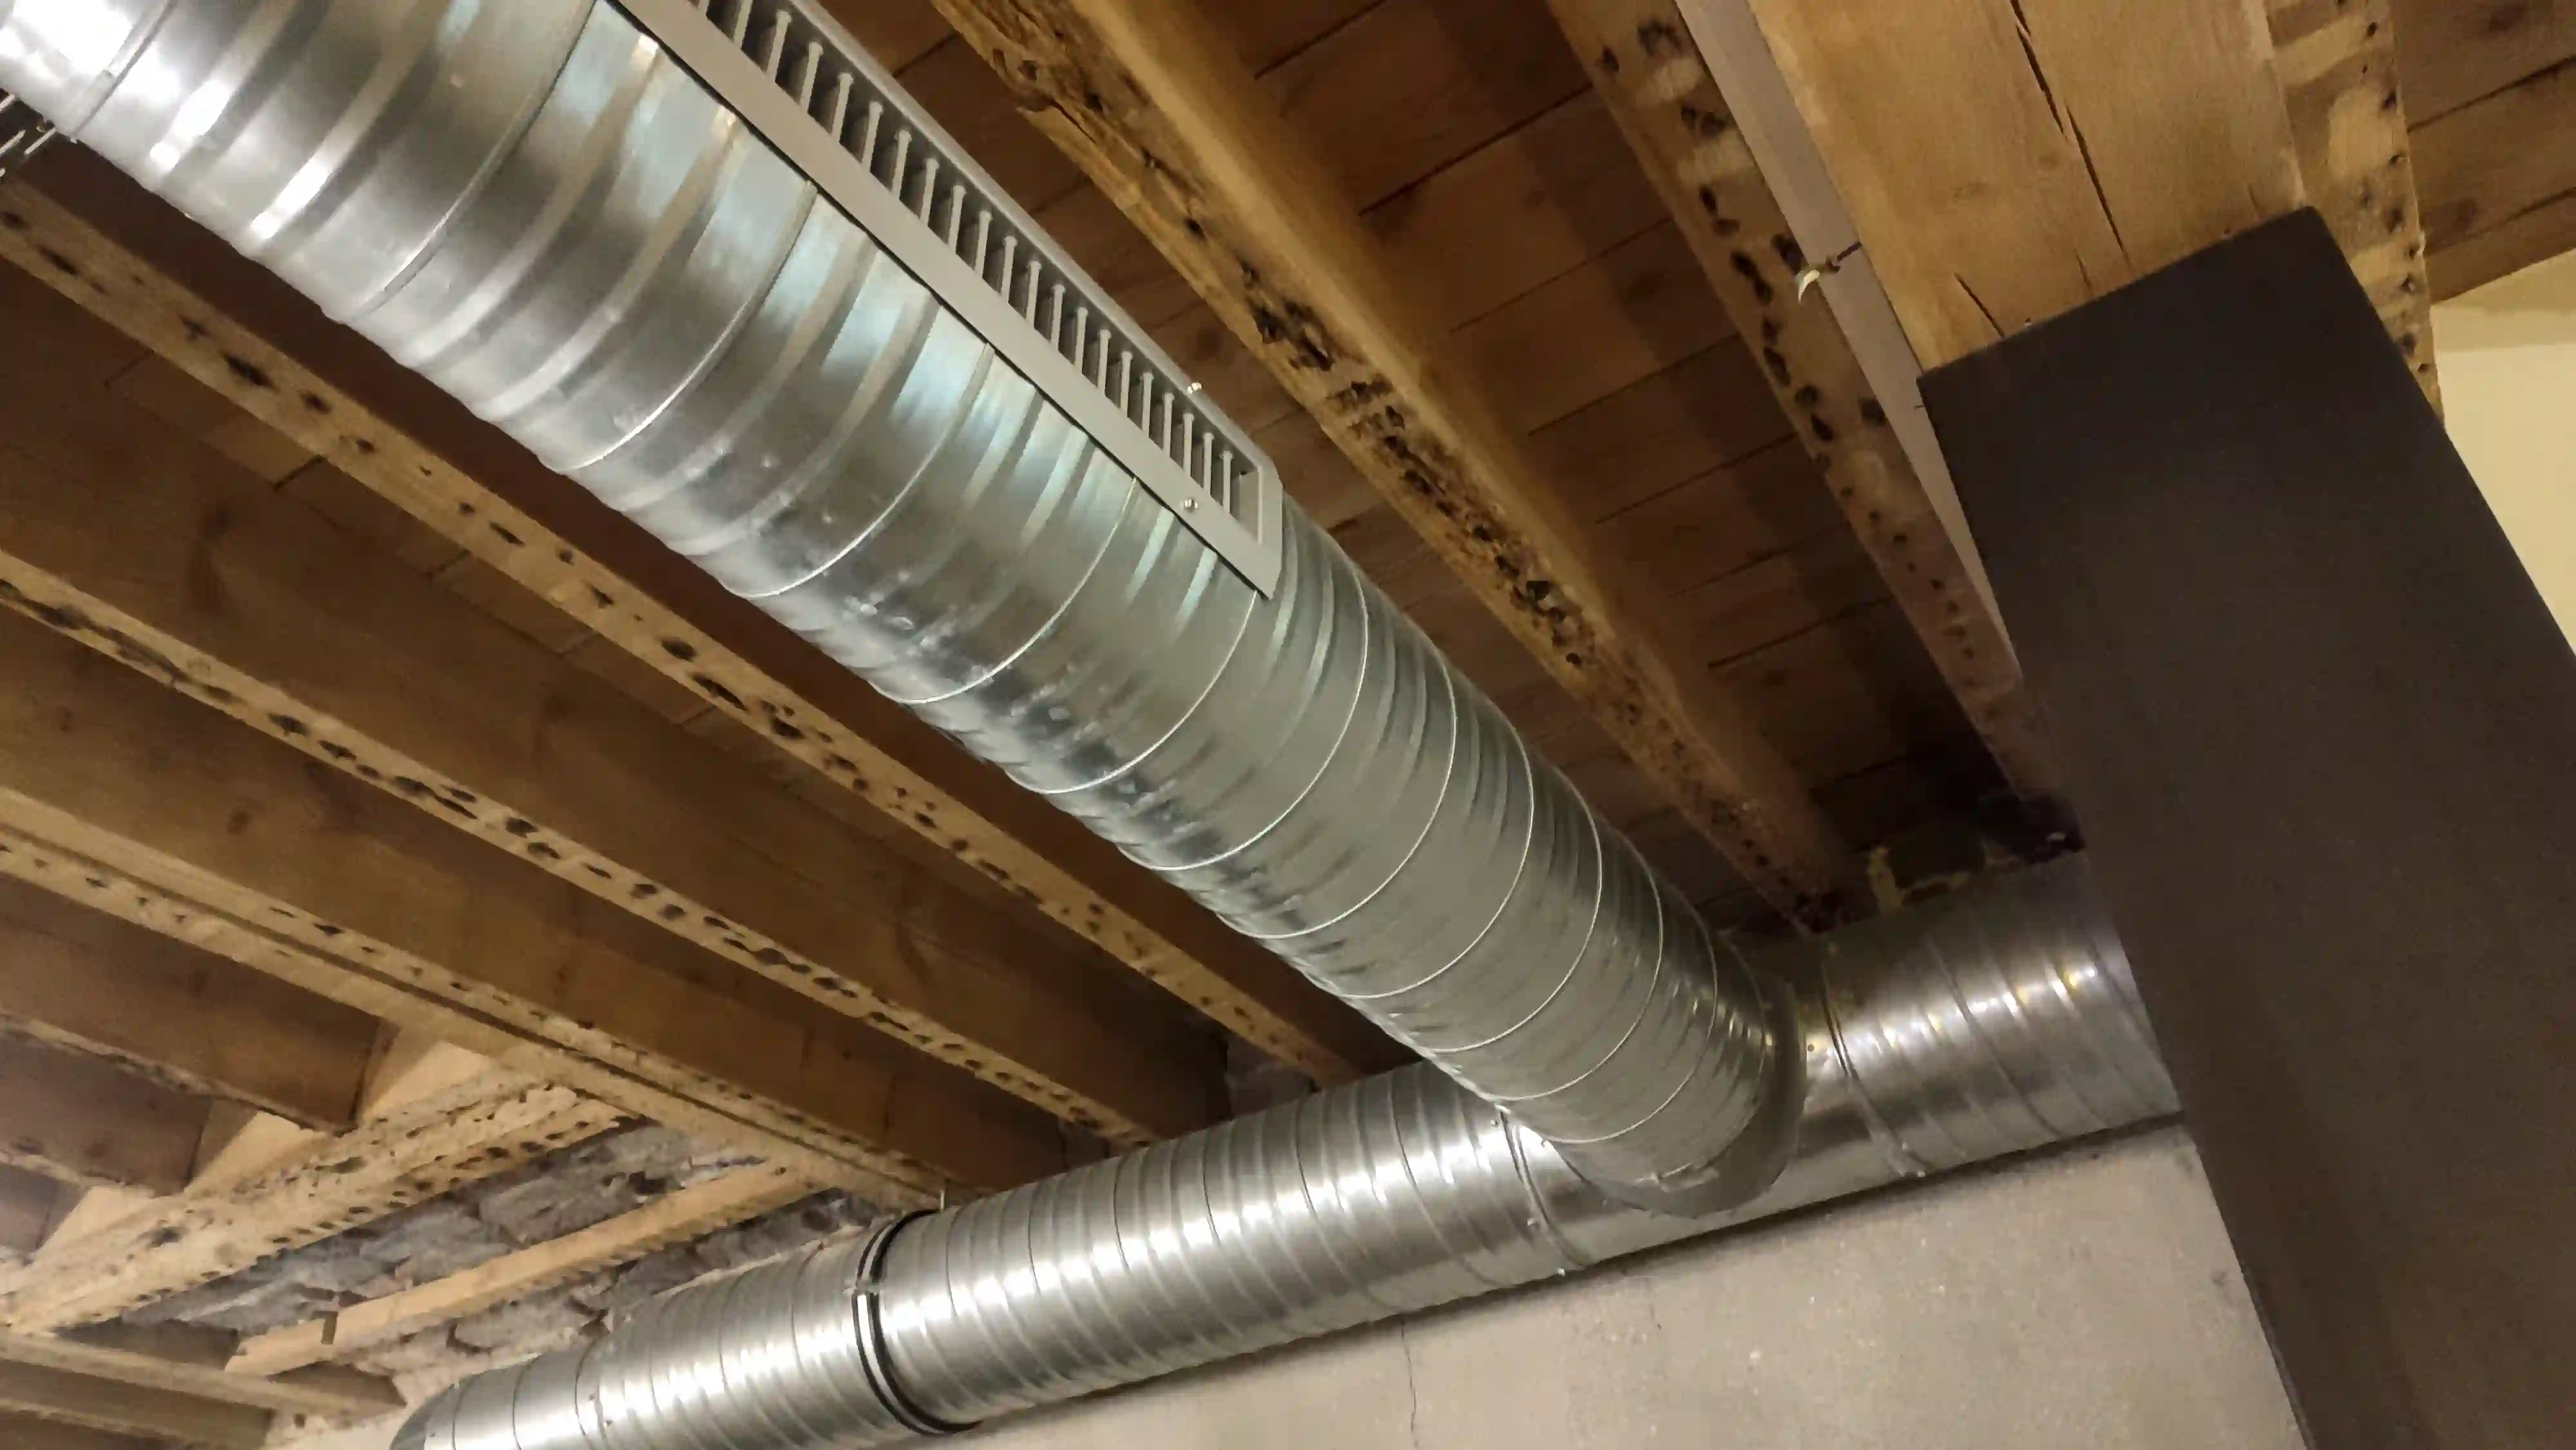
The Anatomy of a Healthy Duct System
To understand the problems, it helps to know the basic components. A professionally designed system isn't just a series of tubes; it's a carefully mapped network.
- Plenum: The main box that attaches directly to your indoor air handler, distributing heated or cooled air into the supply trunk.
- Supply & Return Trunks: The primary channels that carry air from the plenum to your rooms (supply) and bring it back to be reconditioned (return).
- Branch Ducts: Smaller ducts that run from the main trunks to individual rooms.
- Boots & Vents: The final pieces that connect the ducts to the vent openings in your floors, walls, or ceilings.
When this network is compromised, the entire system fails. The good news is that nearly all ductwork issues can be traced back to three foundational principles.
The 3 Pillars of High-Performance Ductwork
Think of your duct system like a chain; it's only as strong as its weakest link. A high-performance system excels in three key areas: airtight sealing, proper sizing, and efficient layout.
Pillar 1: Airtight Sealing – Stop Paying to Heat Your Attic
That 20-30% air loss statistic is a direct result of leaks at joints, connections, and seams. Every unsealed connection is a crack in your energy budget. While many people reach for duct tape, it’s ironically one of the worst materials for sealing ducts as the adhesive quickly fails under temperature changes.
The professional standard is to use mastic sealant, a gummy substance painted over every connection. It adheres securely and remains flexible for decades, creating a permanent, airtight seal. For homeowners looking to improve their system, sealing accessible joints with mastic is a high-impact first step. This simple act is a core part of our comprehensive HVAC maintenance plans, ensuring your system runs at peak efficiency year after year.
Pillar 2: Manual D Demystified – Why Sizing Is Everything
Have you ever wondered how a contractor knows what size ducts your home needs? Too often, they rely on outdated "rules of thumb," which is just a professional term for guessing. This is the single biggest cause of comfort issues and inefficiency.
The professional gold standard is a set of protocols called Manual J, S, and D.
- Manual J calculates your home's unique heating and cooling load.
- Manual S selects the right equipment to meet that load.
- Manual D designs the duct system to deliver the right amount of air from that equipment to each room.
A Manual D calculation is the blueprint for comfort. It considers factors like room size, window placement, friction loss within the ducts, and airflow velocity to specify the exact size and shape of ducts needed for every single room. Insisting on a contractor who performs a Manual D calculation is the single best way to ensure your investment results in balanced temperatures and optimal performance.
Pillar 3: Smart Layout – The Shortest Path to Comfort
The most efficient path between two points is a straight line, and the same is true for air. Poorly designed layouts with excessively long, twisted, or sagging flexible ducts create resistance, forcing your HVAC system’s fan to work overtime.
One of the most common design flaws we see in Lake City homes is the "ductopus"—a tangled mess of flex ducts branching haphazardly from the central plenum. This creates an airflow nightmare. A proper design, whether a trunk-and-branch or radial layout, uses rigid metal trunks for main lines and minimizes the length of flex duct runs to ensure smooth, efficient airflow.
Equally important is the return air system. Many homes have numerous supply vents but only one or two large central returns. This starves the system of air, causing it to run louder and less efficiently. A properly designed system has adequate return paths to ensure the air your system pushes out can easily get back in.
DIY Fixes vs. Professional Redesign: A Practical Guide
Understanding these principles empowers you to make smart decisions. While some fixes are DIY-friendly, others require professional expertise.
Good DIY Projects:
- Sealing accessible duct joints and seams in your basement or attic with mastic.
- Insulating exposed ductwork to prevent thermal loss.
- Changing your air filter regularly to maintain proper airflow.
When to Call a Professional:
- You suspect your ducts are improperly sized (the root cause of hot/cold spots).
- Your ductwork is in inaccessible places like walls or tight crawlspaces.
- You have a tangled "ductopus" system that needs a complete layout redesign.
- You're installing a new HVAC system, like one of today's energy-efficient heat pumps, and need to ensure the ducts can support it.
The Confident Homeowner’s Checklist for Hiring an HVAC Pro
Your newfound knowledge is your best tool for vetting contractors. Use this checklist to ensure you're hiring a team committed to best practices, not just quick fixes.
- Ask About Design Protocol: "Do you perform Manual J, S, and D calculations for every new installation?" A "yes" indicates they follow industry standards. A "no" or "we don't need it" is a major red flag.
- Inquire About Materials: "What duct materials do you recommend and why?" They should be able to explain the pros and cons of sheet metal, flex duct, and fiberboard for your specific home.
- Discuss Sealing Methods: "How do you seal duct connections?" The answer should be "mastic sealant." If they say "tape," look elsewhere.
- Verify Air Balancing: "How do you ensure the system is balanced after installation?" Pros use special tools to measure airflow at each vent and adjust dampers to deliver the airflow specified in the Manual D design.
Frequently Asked Questions About Ductwork
What's the best material for ducts?
Each has its place. Sheet metal is durable and offers the least airflow resistance, making it ideal for main trunks. Flexible duct is great for connecting trunks to vents in tight spaces but should be used sparingly. Fiberboard is less common residentially but offers built-in insulation.
How much does ductwork replacement cost?
This varies widely based on home size, accessibility, and complexity. A simple sealing and repair job might be a few hundred dollars, while a full redesign and replacement for an average-sized home can range from $5,000 to $10,000 or more. The key is to see it as an investment that pays you back in lower energy bills and improved comfort.
How often should I clean my ducts?
Duct cleaning removes dust and debris, which can help with air quality, but it does not fix leaks, poor sizing, or bad design. A well-sealed and filtered system rarely needs aggressive cleaning. Focus on sealing and filtration first.
Can my old ducts work with a new high-efficiency furnace or AC?
Not always. Modern variable-speed systems operate differently than older single-stage units. Connecting a high-performance machine to a leaky, undersized duct system is like putting a sports car engine in a rusty old sedan—you’ll never get the performance you paid for. A ductwork evaluation is essential before any new installation service.
Your Path to an Efficient and Comfortable Home
Your ductwork is the unsung hero of your home. By understanding the core principles of sealing, sizing, and layout, you can move from frustrating symptoms to effective solutions. You're no longer just a homeowner; you're an informed decision-maker ready to invest wisely in your home's comfort and efficiency.
At Energy Wise Home Services, we believe "The Value of Honesty Is Priceless!" We don't rely on rules of thumb; we rely on building science and over 35 years of combined experience. If you’re tired of battling uncomfortable rooms and high bills, it’s time for a professional assessment. Contact our team in the Lake City, GA, area for an honest, data-driven evaluation of your home's ductwork.
Customer
Testimonials


Service Areas